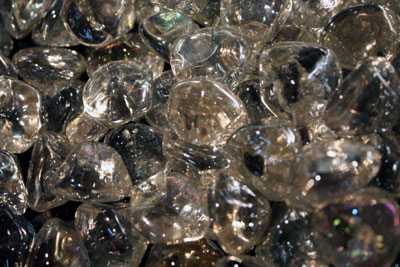
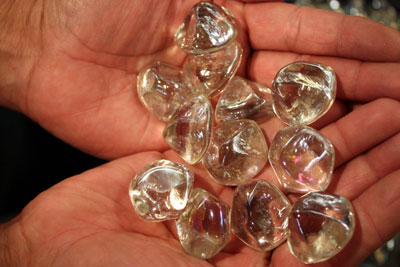
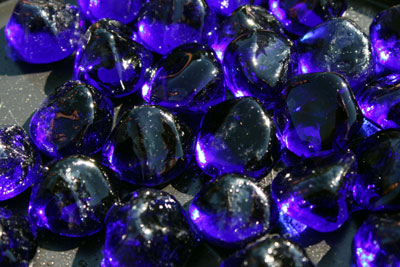
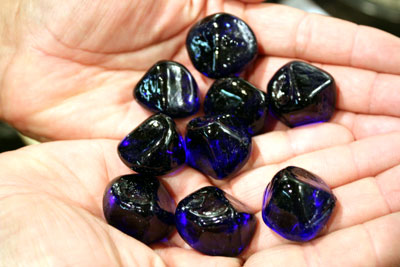
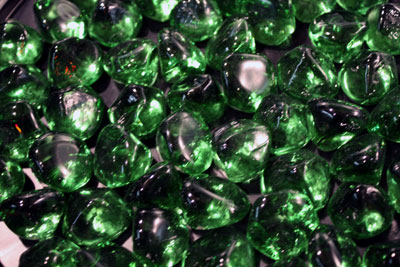
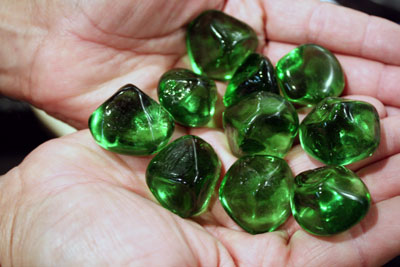
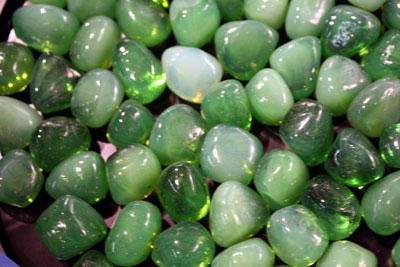
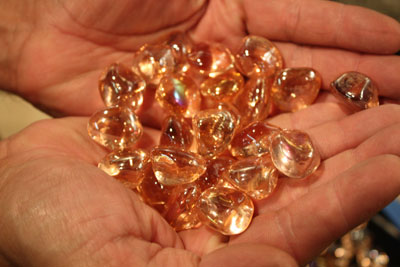
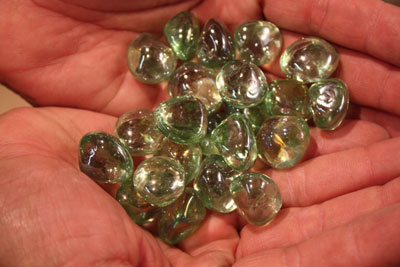
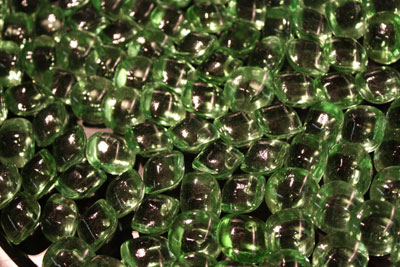
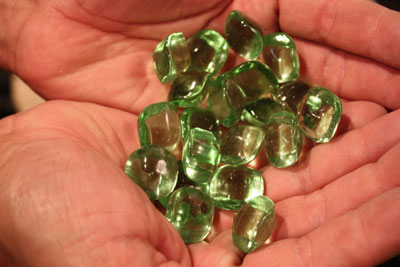
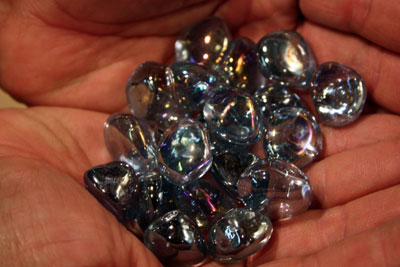
Our larger triangular shaped Diamonds, like our ED Diamonds, give the appearance of melting in the fire from the way they are shaped. Diamonds are not intended to be used as your primary filler but are a great way to accent your FireGlass fireplace or fire pit. It is advisable to just use a few pounds to sprinkle over the base glass, ideally around the flame - and not directly in the fire. Keep in mind the chemical composition of Crystal is vastly different than glass. Please See Our Disclaimer Below
For best results use a low / medium flame with Toppers and Toppings. Using the fireplace over a long period of time, on a high heat, (Over 650 degrees) will result in the heat carbonizing the metal particles to the surface – darkening the product and possibly cracking it over time.
However, you do not need to worry about the FireGlass – as that is safe to burn on high heat over long periods.
We advise the following rules:
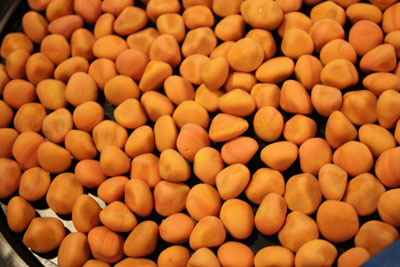
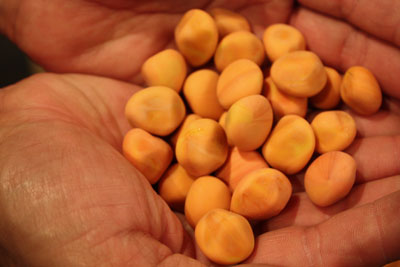
Toppings – Sprinkle the majority of the Toppings around the fire area / flames. Do not pile the majority directly in the fire.
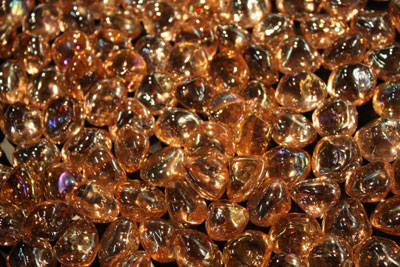
Toppers – If you plan to turn your fireplace flame to high, remove those Topper pieces that are directly in the flame.
Not following these rules will void all Toppers and Toppings product warranty.